
Quick start (5 minutes)
The goal: start from a fresh installation and end up with an authenticated request whose URL and token both come from variables. Allow five minutes.
1. Create a project
Section titled “1. Create a project”File ▸ New (Ctrl+N), then File ▸ Save as (Ctrl+Shift+S) to give it a
name, for example demo.restorm.
A project is just a file on your disk. You can drop it in a git repository right away — Restorm is built for that.
2. Create an environment folder
Section titled “2. Create an environment folder”Right-click in the sidebar tree ▸ Add ▸ Environment folder.
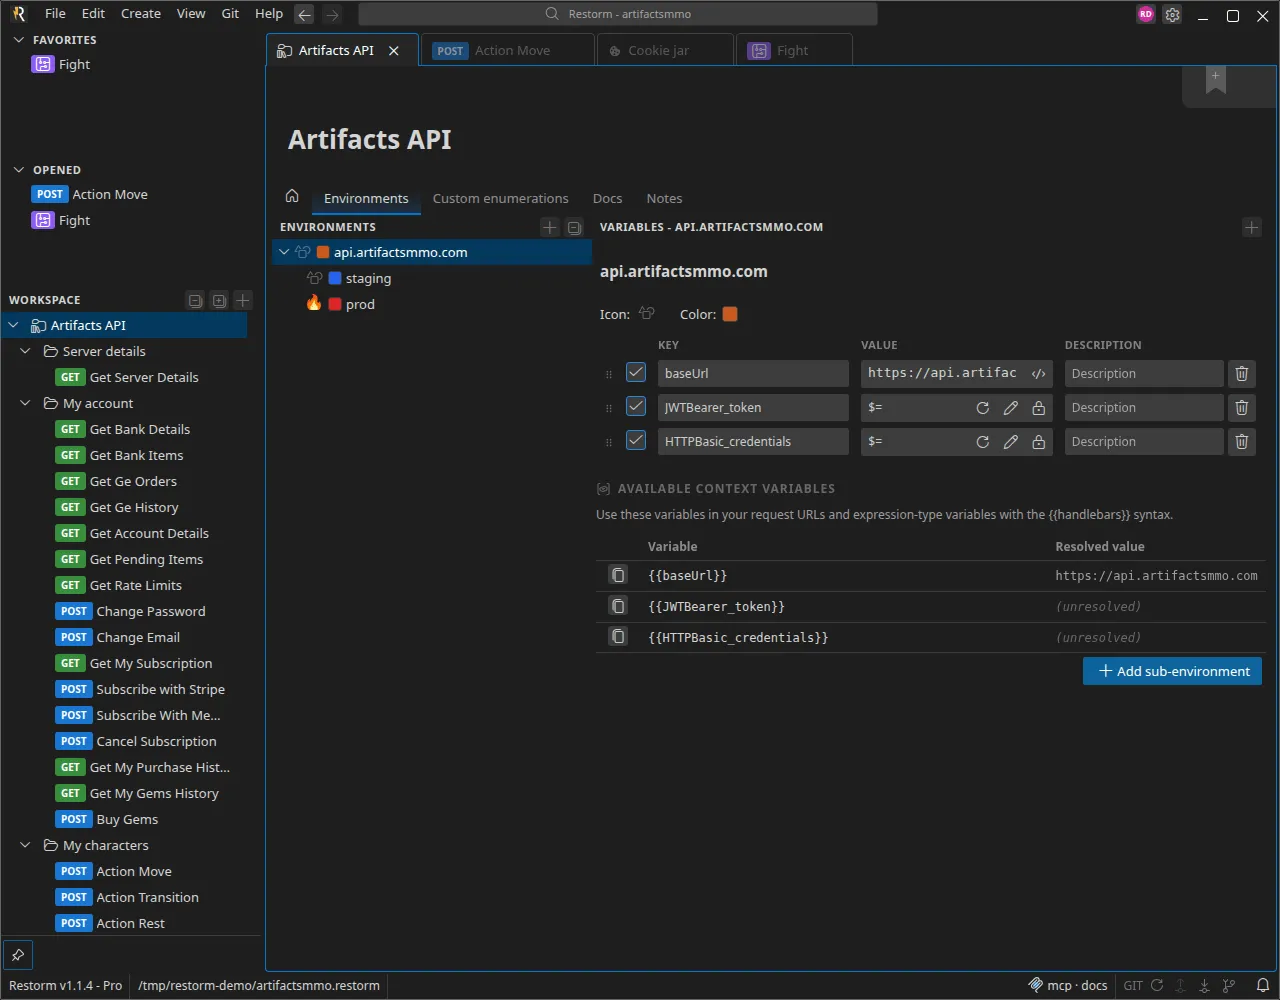
An environment folder (also called a variables folder) is the container
that carries your environments — local, staging, production — and
therefore your {{variables}}. Every request inside it inherits the selected
environment.
Open it, create a local environment and add a variable to it:
| Key | Type | Value |
|---|---|---|
baseUrl | String | https://api.exemple.test |
3. Create and send a request
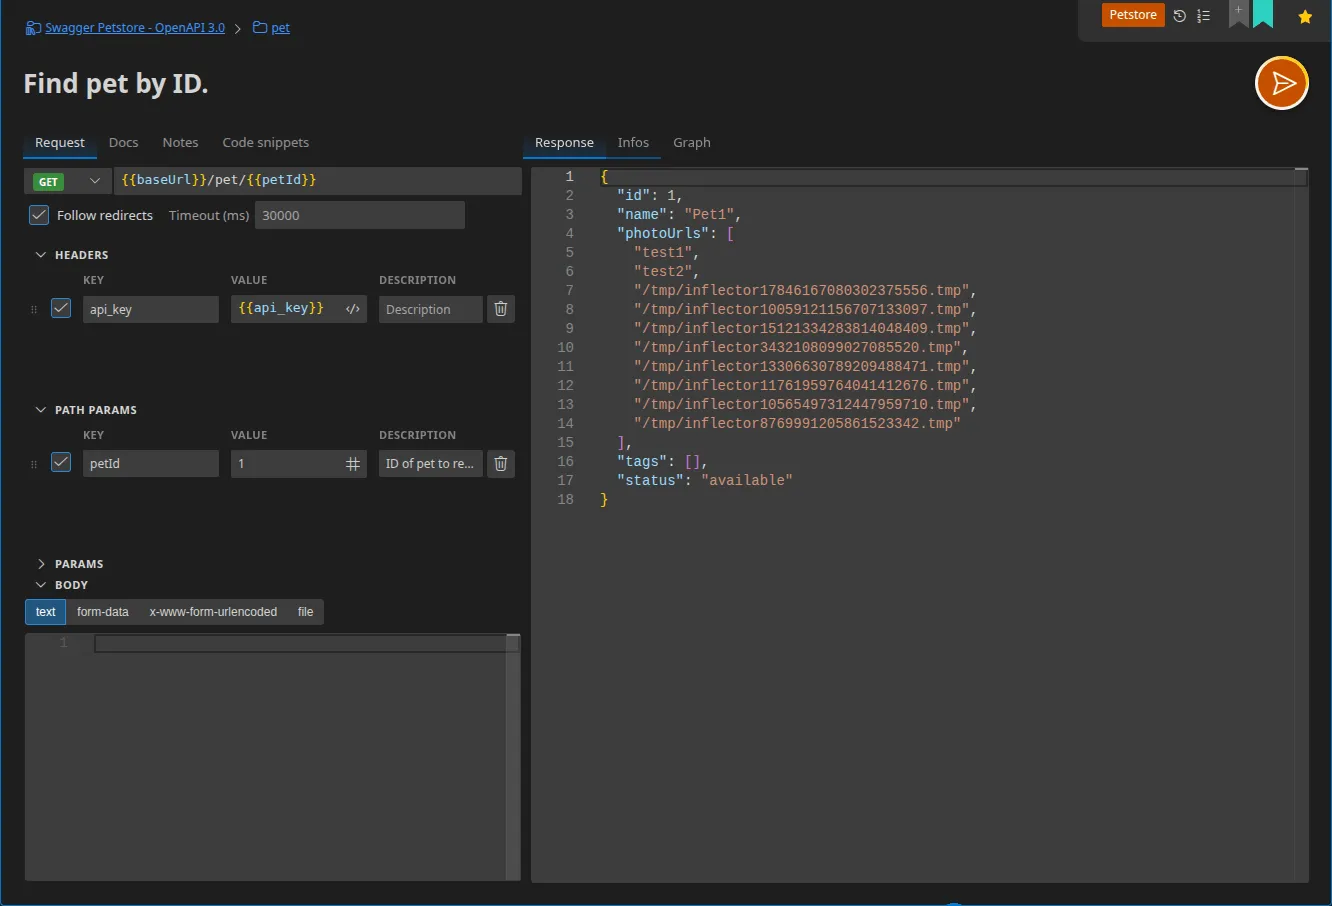
Section titled “3. Create and send a request”Right-click the folder ▸ Add ▸ HTTP request. In the tab that opens:
- leave the method on
GET; - type the URL
{{baseUrl}}/health— the resolved value appears under the field, which is your safety net; - click Send.
The response opens below: status, time, size, headers, and the body rendered in a collapsible JSON viewer.
4. Add authentication
Section titled “4. Add authentication”Rather than pasting a hard-coded token, create an authentication request:
right-click ▸ Add ▸ HTTP authentication request. Configure the call that
obtains the token (for instance a POST /oauth/token), then, in its
Configuration tab, declare what it produces:
| Header produced | Value |
|---|---|
Authorization | {{token_type}} {{access_token}} |
The value is an expression evaluated against the response body of the
authentication request. While you are there, fill in the expiry expression (for
example {{expires_in}}) so that Restorm renews the token on its own.
Go back to your GET request and, in the top bar, pick that authentication
route. The header is now injected on every send, and a 401 automatically
triggers a renewal followed by a retry.
Details: Authentication.
5. Going further
Section titled “5. Going further”- Already have a specification or a collection? File ▸ Import (
Ctrl+I) rebuilds the whole tree: see Import & export. - Chain several calls and check the results with a scenario.
- Run that scenario in your CI: Headless execution.